# Fightboard
Have you ever been frustrated with fightsticks? Do you want something to use on your desk that isn't a massive box you have to put away somewhere when you're not using it? Do you prefer the natural spacing of a keyboard over the finger-stretching traditional arcade buttons? Maybe you want something that you can easily use on-the-go. The Fightboard aims to solve all of those problems.
## Features
### Ergonomic layout
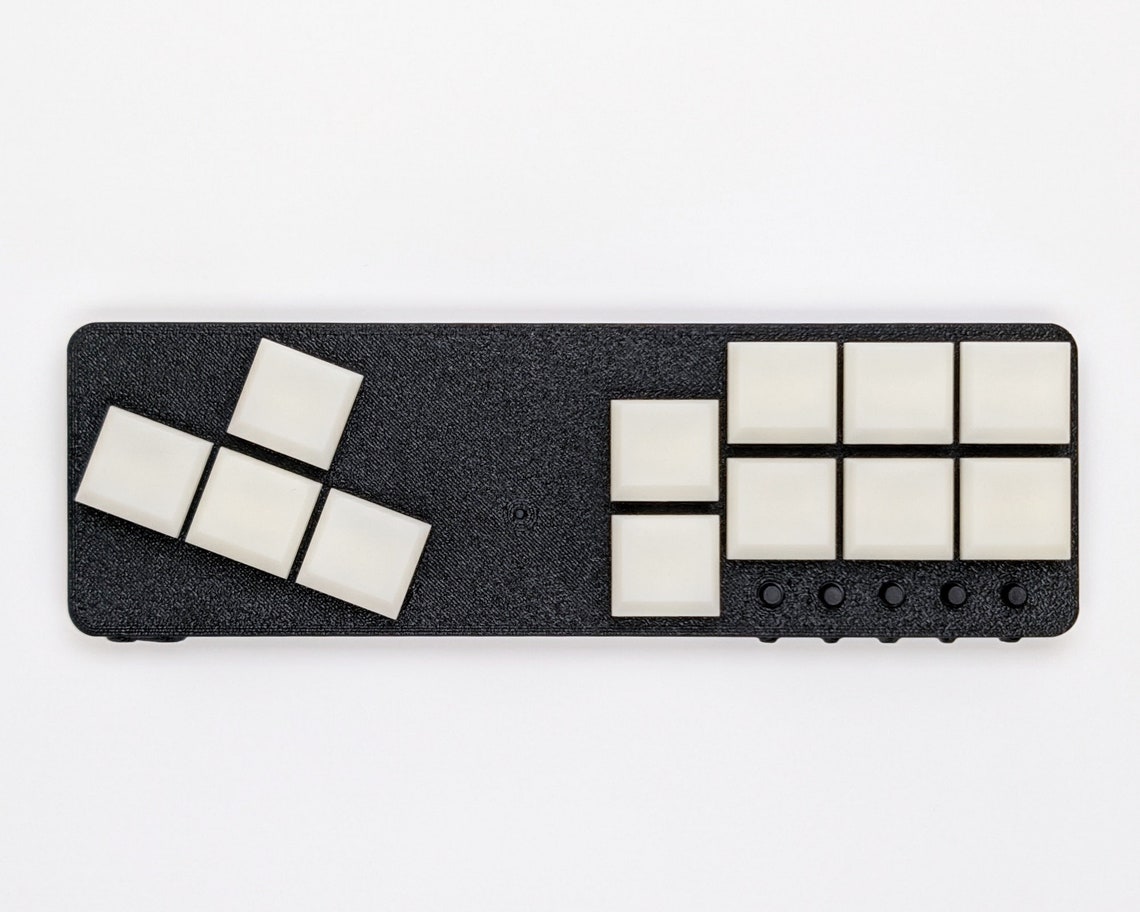
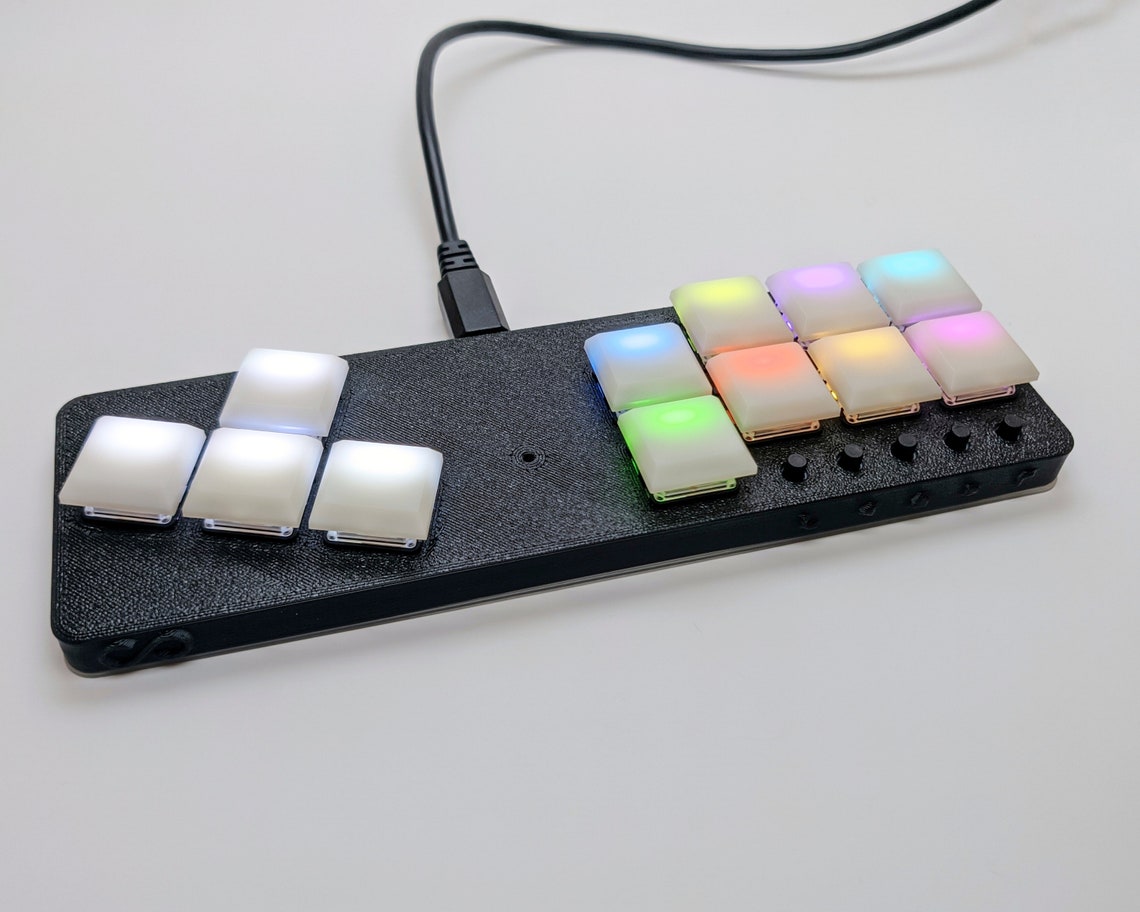
The Fightboard uses a combination of an arrow/wasd cluster at a 20% angle and action buttons following the traditional arcade stick layout but with the spacing of keyboard keys.
### Hot-swap sockets
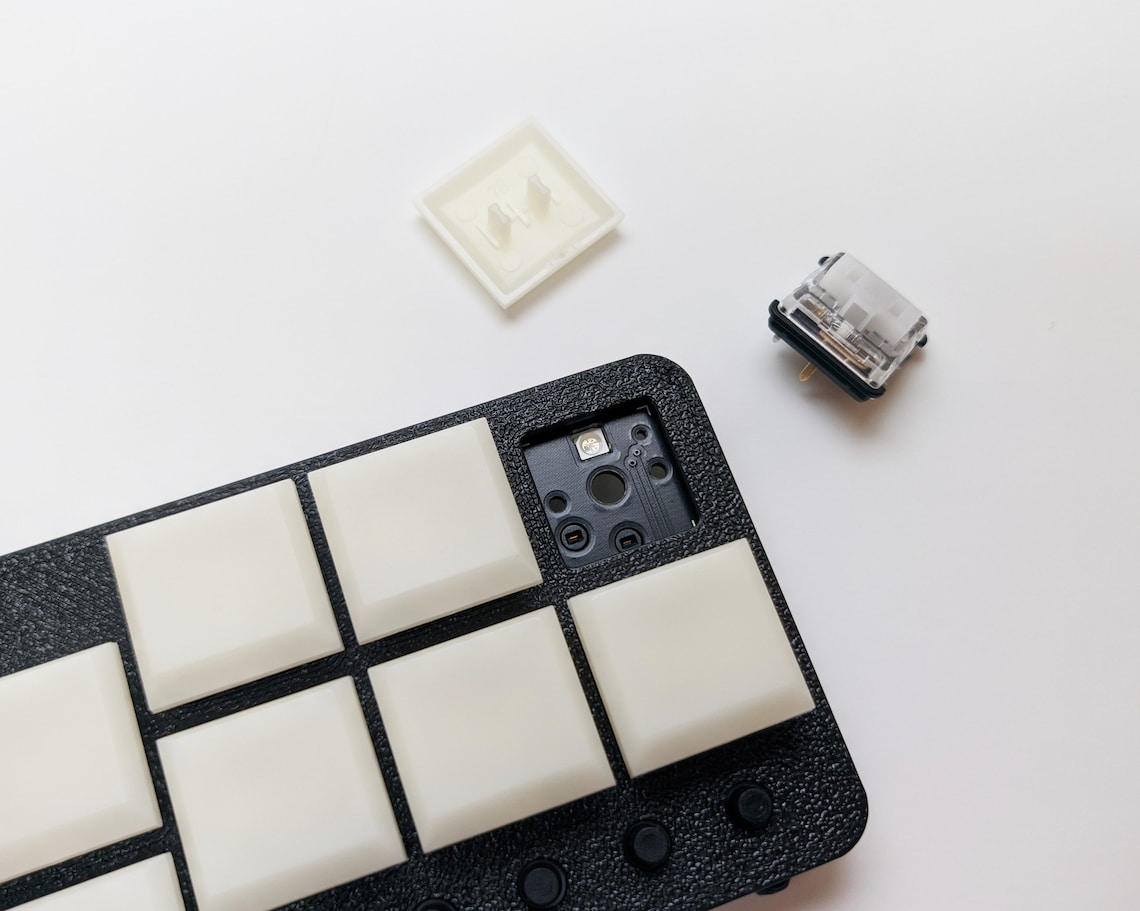
Unhappy with your switch coice? Want different zones with different types of switches? All you have to do is pull them out and swap them with whatever you prefer, no soldering required.
### RGB LEDs
The RGB LEDs indicate the function of each button. The default profile uses Xbox colors for the 4 face buttons, but these can be changed to suit your preferences or the colors used in-game. The LED for each key turns off when the key is pressed and fades back on when released.
### Idle mode
The LEDs will turn off after a minute of inactivity. Pressing any button will turn them back on.
### Easy remapping
Settings are all built into the keypad and allow you to remap keys on-the-fly.
### SOCD cleaning
Left+Right will cancel each other out and Up+Down will function as Up.
## MX vs LP
There are two different versions of the LP for two different types of switches. The Fightboard MX uses Cherry MX compatible switches which gives it the advantage of broader compatibility since there are more MX switches and keycaps on the market. The Fightboard LP uses Kailh Choc switches, which allows it to be lower profile for improved ergonomics. There is still a selection available for Kailh Choc switches, so you can choose between clicky, tactile, and linear, but Kailh is the only company making these switches.
## Firmware
As of 7/6/21, a newer version of the Fightboard was released, which will be referred to in this section as the Fightboard V2. Since the V2 was released after firmware version 1.4, that is the earliest firmware version available (though I don't recommend you use earlier firmware versions anwyay.) Read the readme in the zip for installation instructions.
| Fightboard V1 | Fightboard V2 |
| --- | --- |
| [1.0](https://thnikk.moe/files/FBUpdater.zip) | -- |
| [1.1](https://thnikk.moe/files/FBUpdater_1.1.zip) | -- |
| [1.2](https://thnikk.moe/files/FBUpdater_1.2.zip) | -- |
| [1.3](https://thnikk.moe/files/FBUpdater_1.3.zip) | -- |
| [1.4](https://thnikk.moe/files/FBUpdater_1.4.zip) | [1.4-rgb](https://thnikk.moe/files/FBUpdater_RGB_1.4.zip) |
There is also an alternative firmware written by Jason Skuby/FeralAI that brings native compatiblity with the Nintendo switch, but is missing features like remapping and custom LED colors. Since the V2 uses different LEDs, I've made a fork of the code specific to the V2, but any feature requests or bug reports should be made to the original author's github.
| Fightboard V1 | Fightboard V2 |
| --- | --- |
| [0.1](https://github.com/FeralAI/FightboardHybrid/releases/tag/v0.1-alpha) | [0.1-rgb](https://github.com/thnikk/FightboardHybrid/releases/tag/v0.1.1-alpha) |
## Compatibility
The Fightboard is only compatible with PC out of the box, but can be made compatible with the adapters listed below (and the Switch with the firmware above.)
| System | Compatible | Link |
| --- | --- | --- |
| PC | Yes | No adapter needed |
| Switch | Yes | See above for alternative firmware or [Brook Wingman (Switch)](https://www.amazon.com/Brook-Wingman-Support-Controller-Converter/dp/B08L7JQL4P)/ [Mayflash](https://www.amazon.com/Mayflash-Magic-NS-Wireless-Controller-Nintendo/dp/B079B5KHWQ) |
Xbox One | Yes | [Brook Wingman XBOne](https://www.amazon.com/Brook-Wingman-Support-Controller-Converter/dp/B08H1SYGWV) |
PS4 | Yes | [Brook Wingman PS4](https://www.amazon.com/Brook-Wingman-Support-Controller-Converter/dp/B08B82M9TG) |
PS5 | Partial | Only compatible with PS4 games using the PS4 adapter linked above. |
Xbox 360 | No | Not compatible |
## Menu
All settings are accessible from the controller itself by pressing left+right+home.
### Brightness control
You can increase or decrease the brightness of the LEDs by holding up or down from the main menu.
### Direction mode
As of firmware version 1.2, you can change the directional keys to function as either a dpad or the left analog stick, since some games require one or the other. After entering the menu, you can press L3 to enable dpad mode (the keys will turn red) and R3 to enable left stick mode (the keys will turn yellow.)
### Profiles
From the main menu, you can press one of the 8 keys on the right to switch between 8 different profiles. These all have independent settings so you can set up each profile for a different game, each with different colors and mappings.
### Button swapping
You can press the start button after entering the menu to enter the button swapper. In this mode, pressing one of the 8 buttons on the right will make it pulse quickly. Press another button and the two buttons will swap places, along with their colors.
### Color changing
You can also press back on the main menu to enter color changing mode. Pressing one of the keys will cycle through RGB for that key.
.. warning::
Remapping and color changing are only available for the 8 keys on the right. The d-pad keys are not reconfigurable.
### Resetting
Pressing L3 and R3 simultaneously in the main menu will clear the current profile back to its default settings.
### Exiting menus
Pressing the home button will always take you one step back out of a menu, meaning it will take you to the main menu on the color changer or remapper and exit from the main menu.